
The wait is finally over! Salesforce recently released the Beta version of Code Builder. You can install, test, and provide feedback on this tool in your development environments.
Code Builder is a cutting-edge, web-based development environment designed specifically for Salesforce. It is powered by AWS and allows you to launch a full-featured IDE in your browser from your Salesforce org with the click of a button. There is nothing to install or configure on your device, so you won’t have to spend hours installing developer tools!
All of the features of a modern IDE, including code completion, refactoring, search, and support for Salesforce languages and frameworks, are present in Code Builder. It comes with the Salesforce Extensions that are pre-installed.
The built-in integration with version control tools like GitHub makes Code Builder compatible with common DevOps workflows.
You have the flexibility to code essentially on any device with an internet connection because you can operate Code Builder from a browser.
Steps to get Code Builder (Beta) in your development environment?
Install the Code Builder Managed Package
- Go to App Exchange and search for the Code Builder managed package.
- Click Get It Now.
- Select the org in which you want to install Code Builder.
- Check terms and conditions and click Confirm and Install.
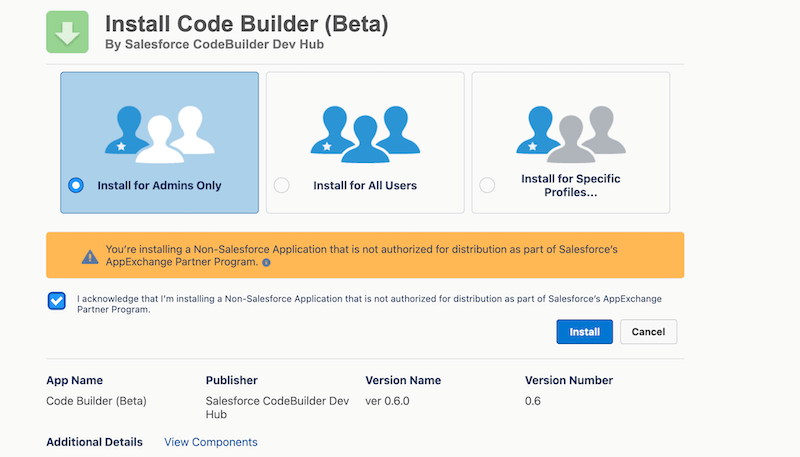
Grant access and click Continue.

After installation, you can verify that on the installed package page.
Assign Permission set
- From Setup, enter
Permission Setsin the Quick Find box, then select Permission Sets. - Click CodeBuilder.
- Click Manage Assignments
- Click Add Assignments.
- Select the checkboxes next to the names of the users to assign the permission set, and click Assign.
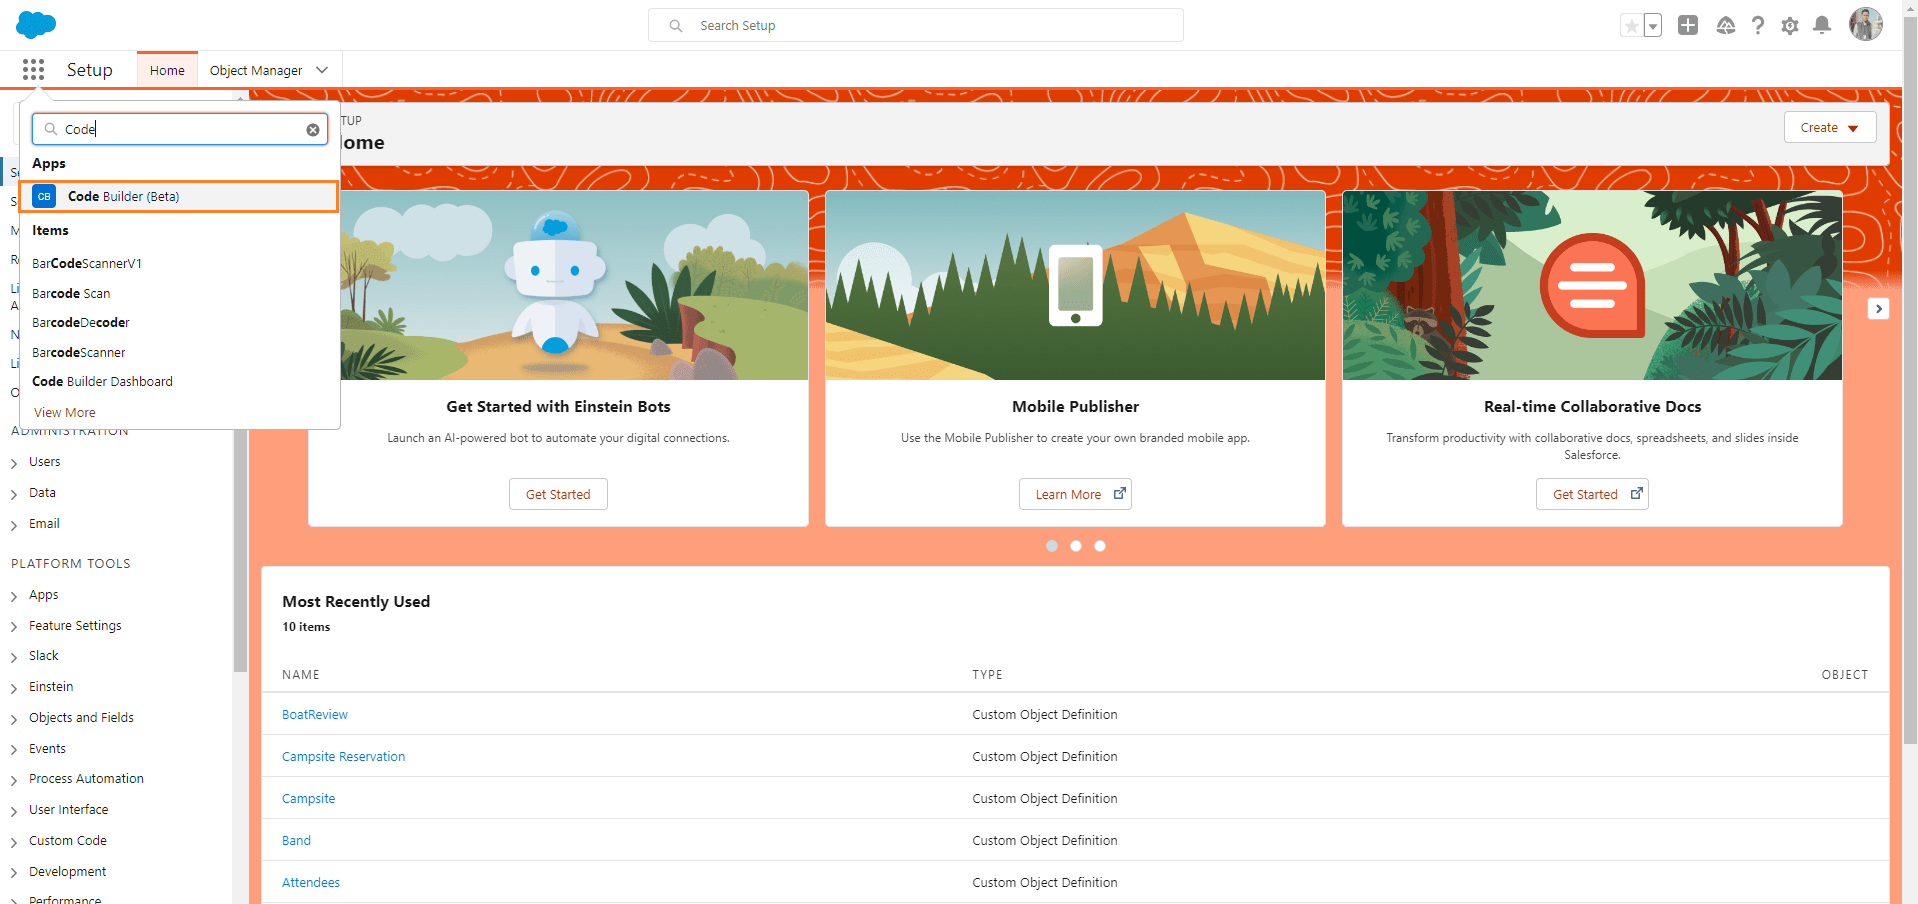
Now, you can access Code Builder (Beta) from the App launcher.
Goto app launcher and search ‘Code Builder’ select Code Builder (Beta) app.
You will land on the dashboard page of the code builder tool. Click on Join the Beta button.
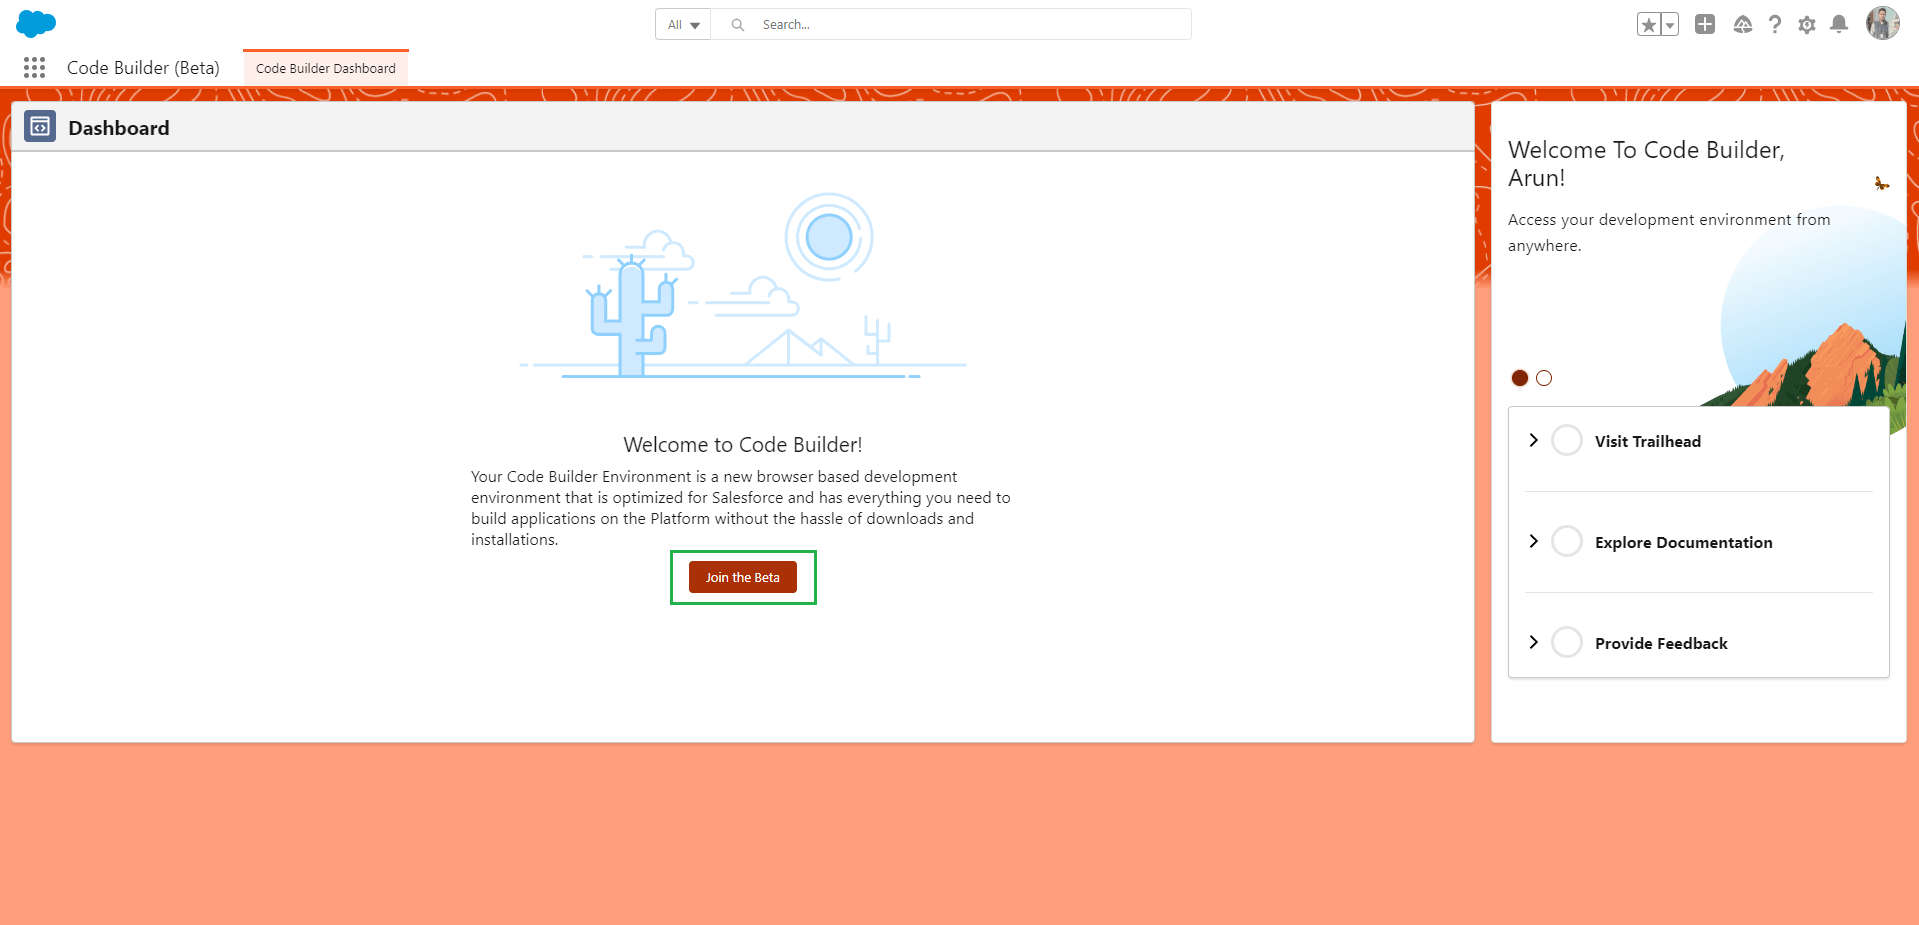
It will take 1-2 days before you have access to the code builder beta.
When you have beta access, you will see the screen below. Click on Get Started button.
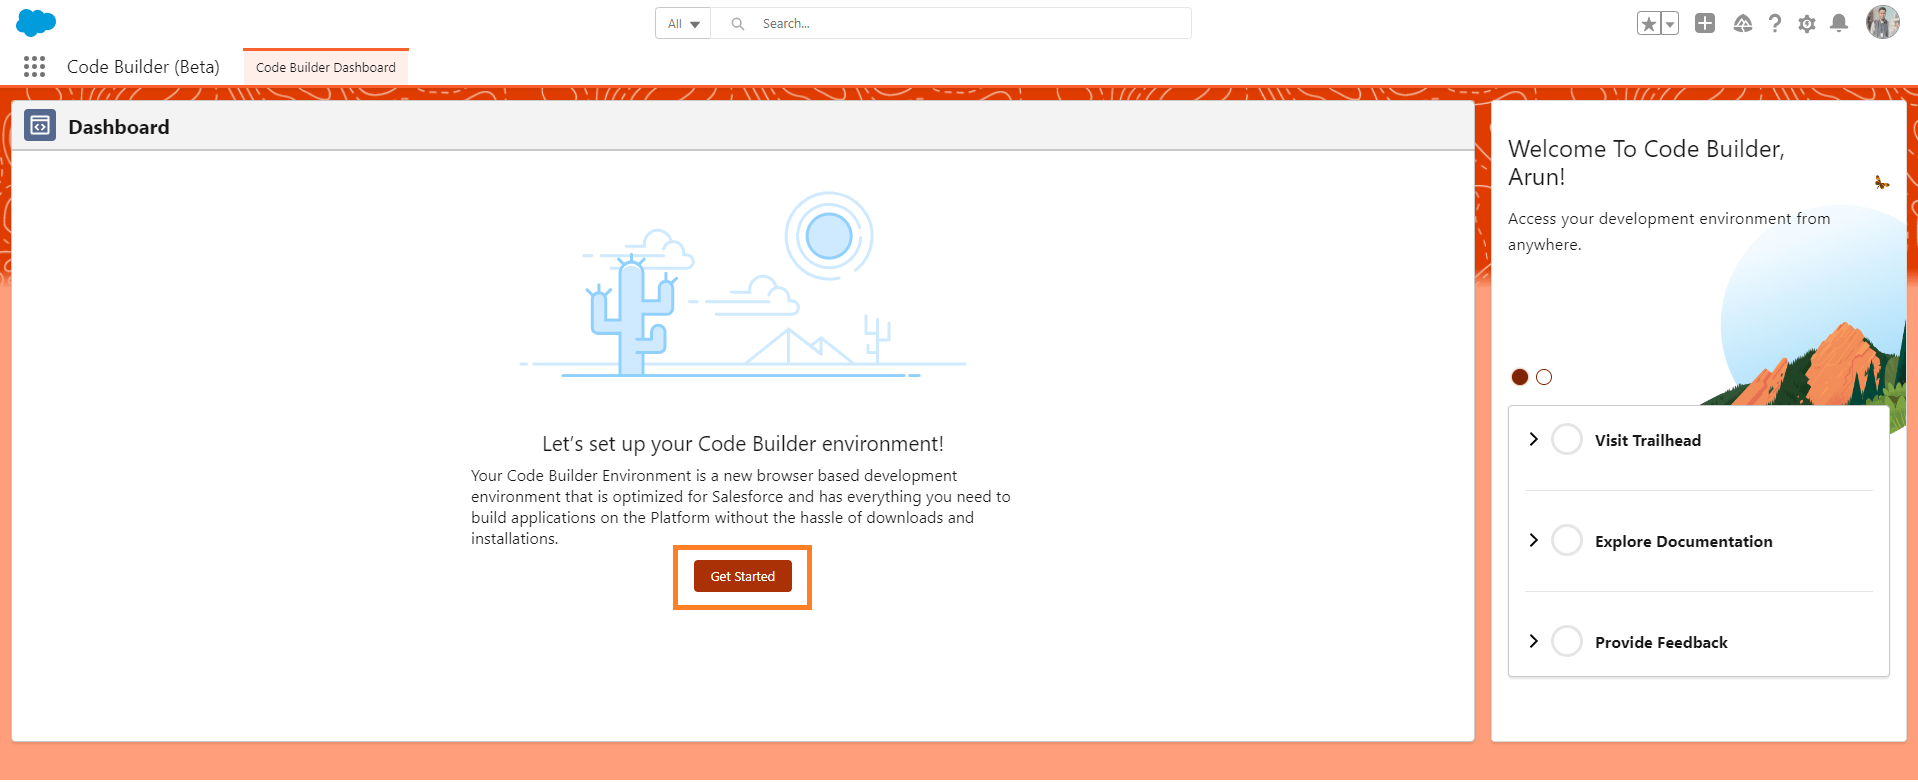
The next screen will allow you to either create a new project or import it from GitHub.
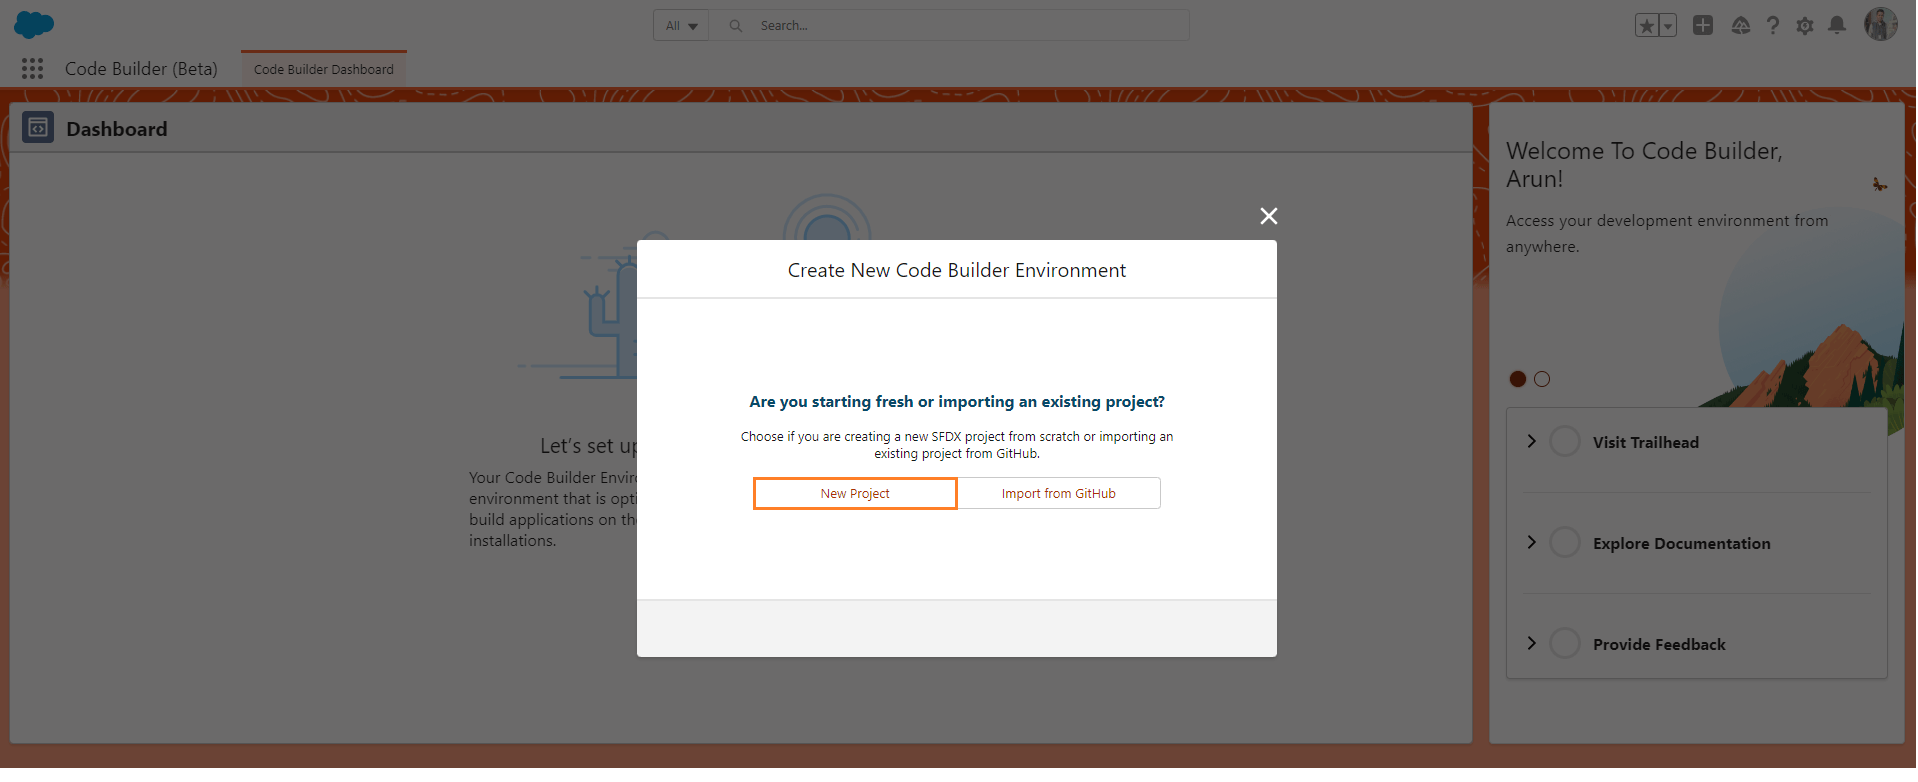
Enter a project name and select type as standard.

Connect an Org to your Environment
Connect to the org you plan to develop against in Code Builder. The recommendation is to use a Dev Hub org as your development org.
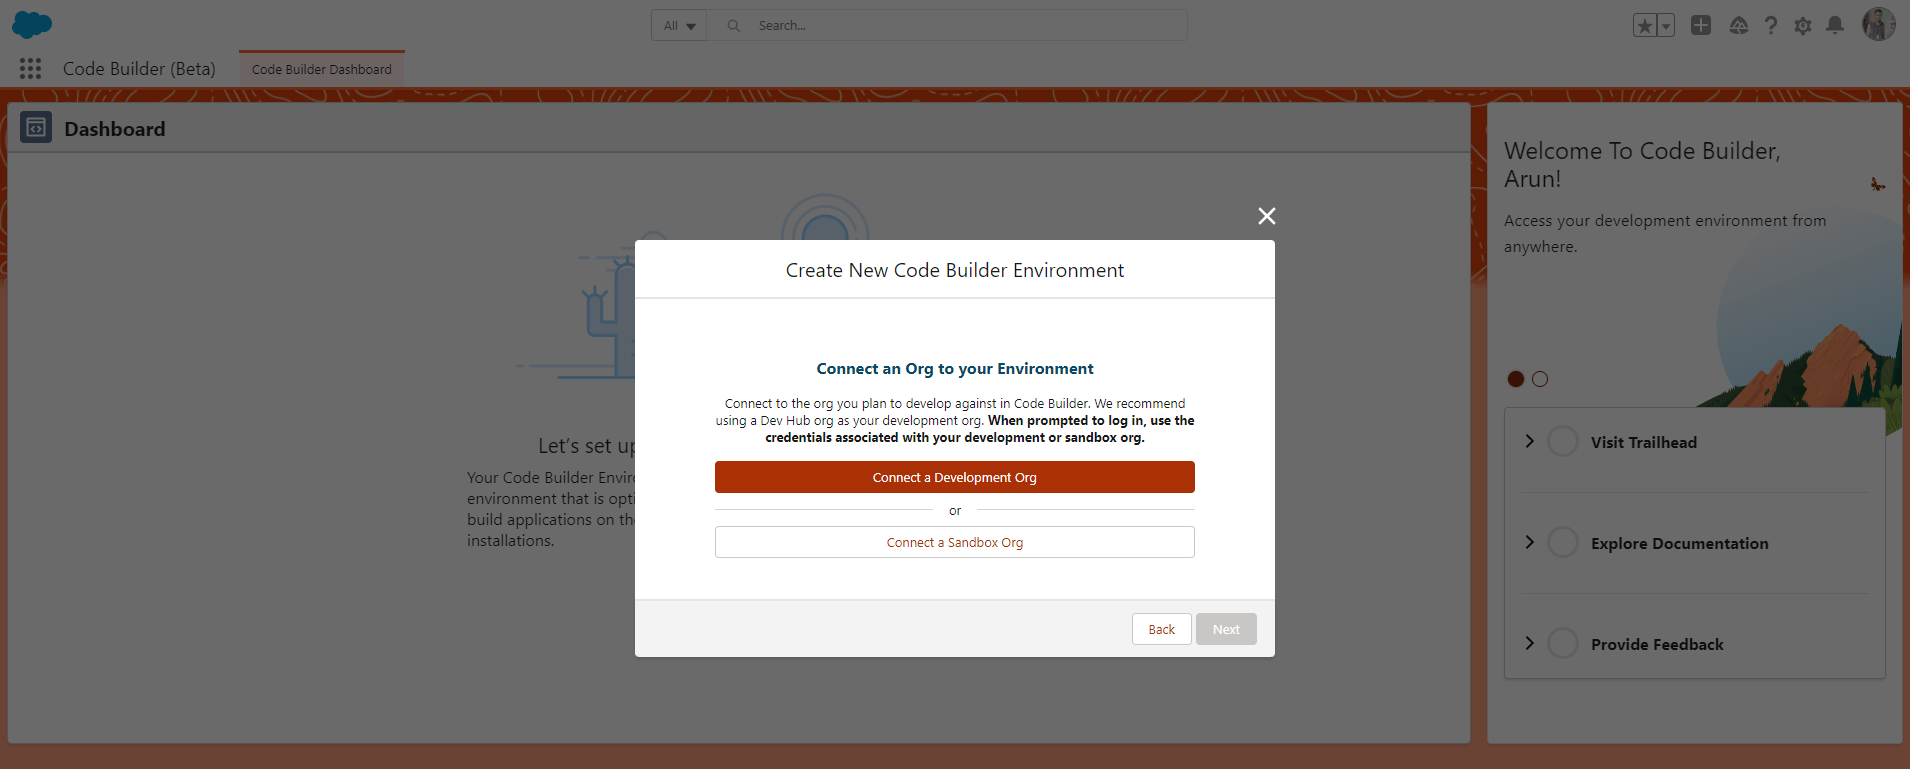
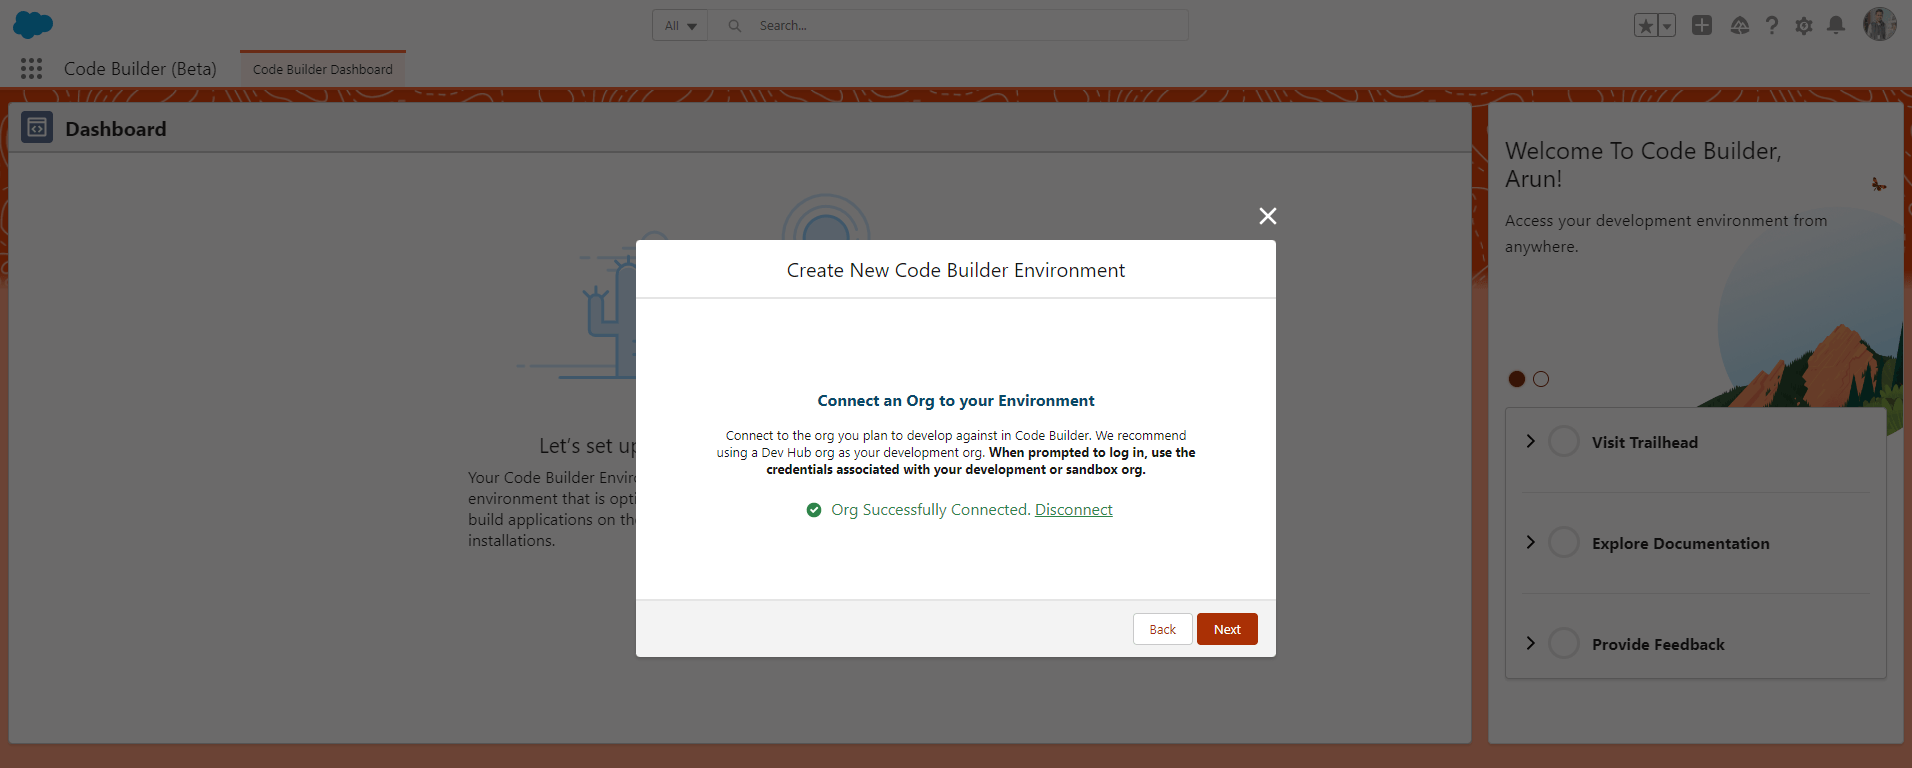
When prompted to log in, use the credentials associated with your development or sandbox org and allow the permission.

You will be redirected to the code builder dashboard page again. Click on the Next button.
Enter the alias name

Following that, you will observe the creation of the environment once it is done you will see the Launch button.
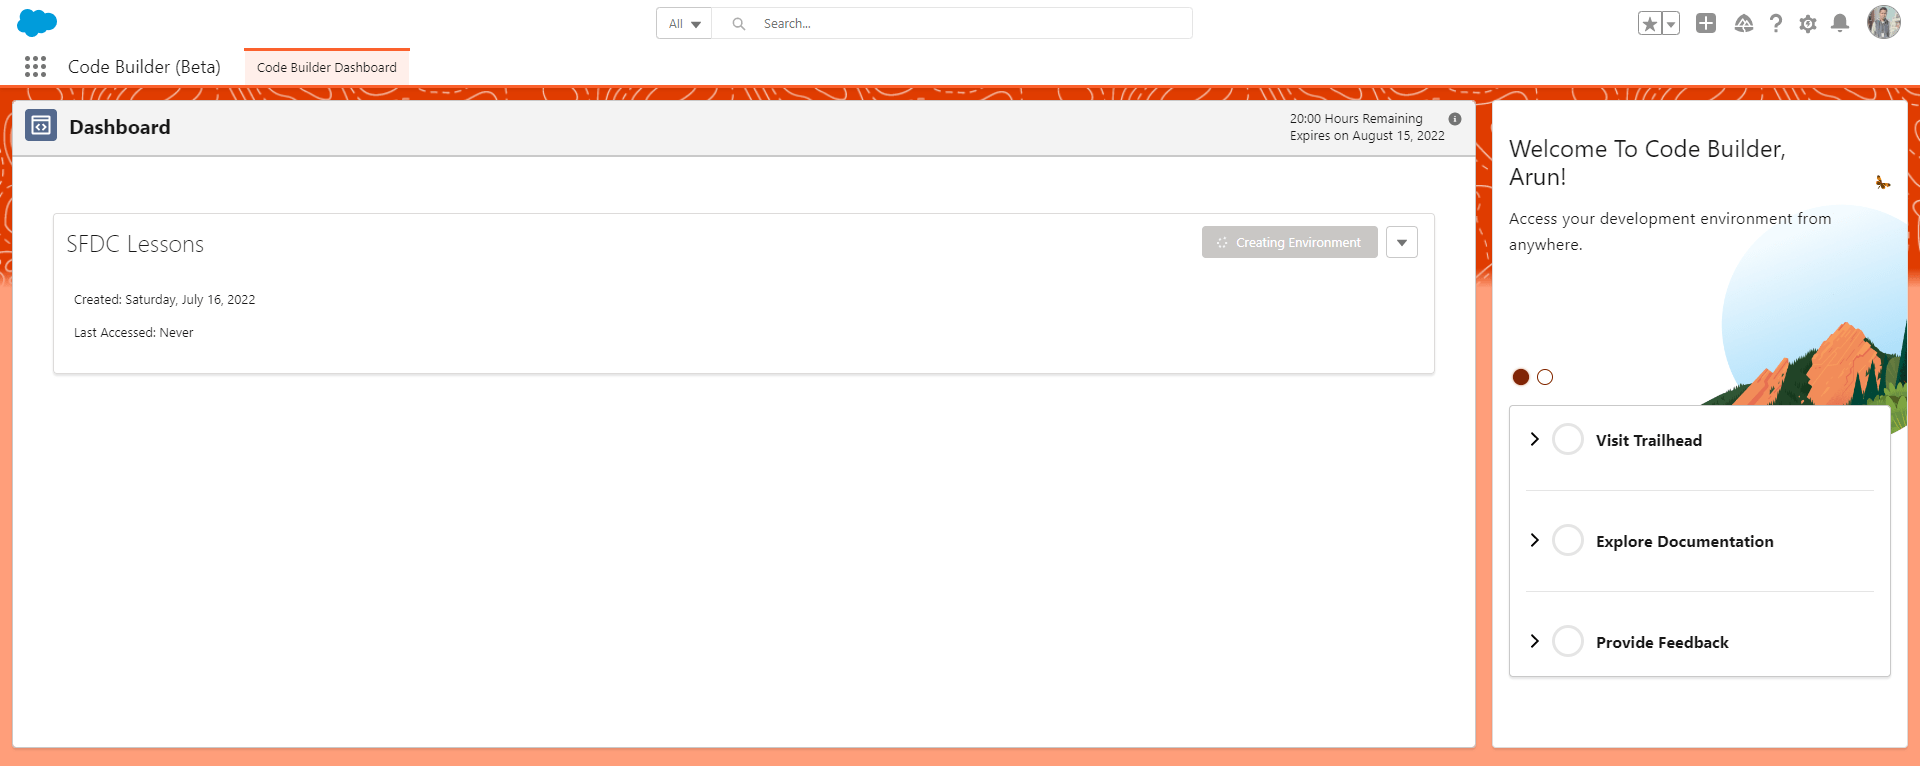
Click on the Launch button.

Next >> check out the quick demo video below:

[…] Review: Performing code reviews before merging changes into the main branch ensures code quality and catches potential issues. Peer reviews help maintain consistency, reduce bugs, and improve the […]