
Hello Trailblazers,
In this article, you’ll learn how to create a custom profile (without any permissions enabled) from scratch using SOAP API. This article will also demonstrate how you can use the SOAP UI tool to connect Salesforce org and perform some operations.
Sometimes we want to create a fresh profile (without any permissions enabled) and want to set the permissions that we need. But right now, if you will try to create a profile from the user interface, you must need to select an existing profile to clone from and then need to remove permissions that you don’t want the assigned users to have.
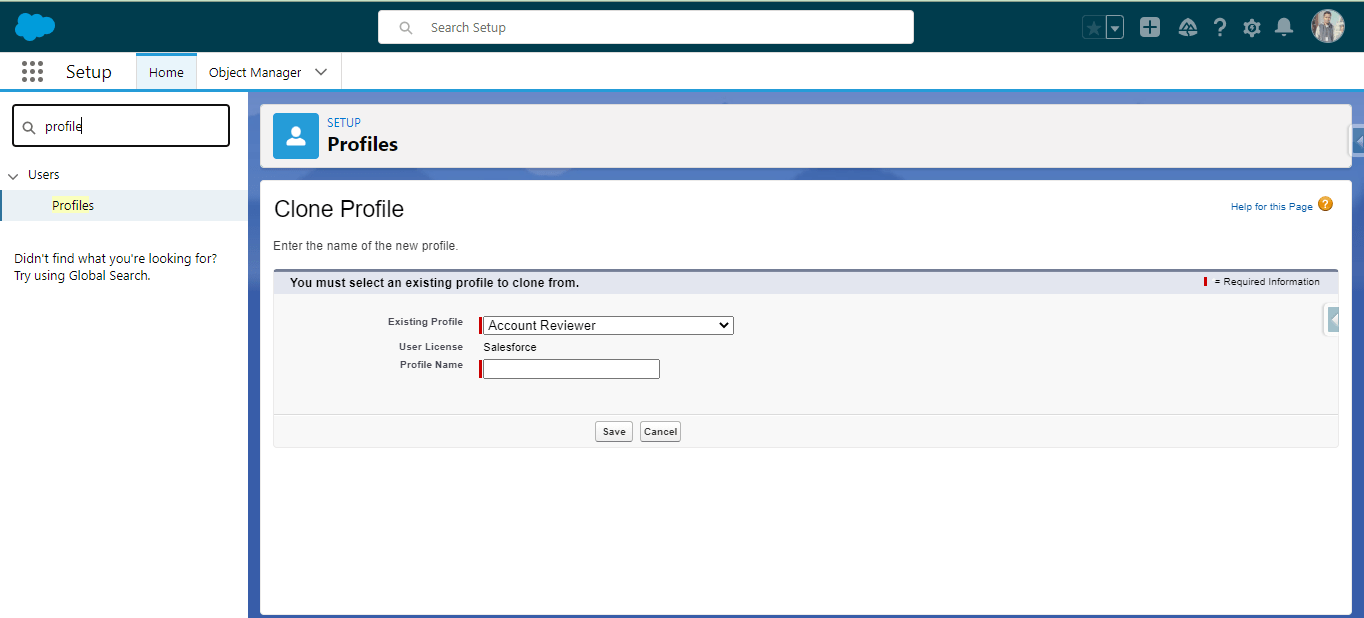
In Salesforce Winter ’22 Release now it is allowed to create a custom profile from scratch via the SOAP API. So we are going to see how we can create the custom profile from scratch via SOAP API using the SoapUI tool.
SOAP UI is an open-source, popular web service testing application for Simple Object Access Protocol (SOAP) API. It provides an easy-to-use graphical user interface and it supports all the standard protocols and technologies to test all kinds of APIs. In this article, we are going to see how we can connect Salesforce via SOAP API with this tool.
Download SOAP UI
You need to download the SOAP UI application on your machine from here: https://www.soapui.org/downloads/soapui/

As you can see in the above screenshot there are two download options, you need to download the SoapUI Open Source. Just click on the ‘Download SoapUI Open Source’ button to start the downloading.
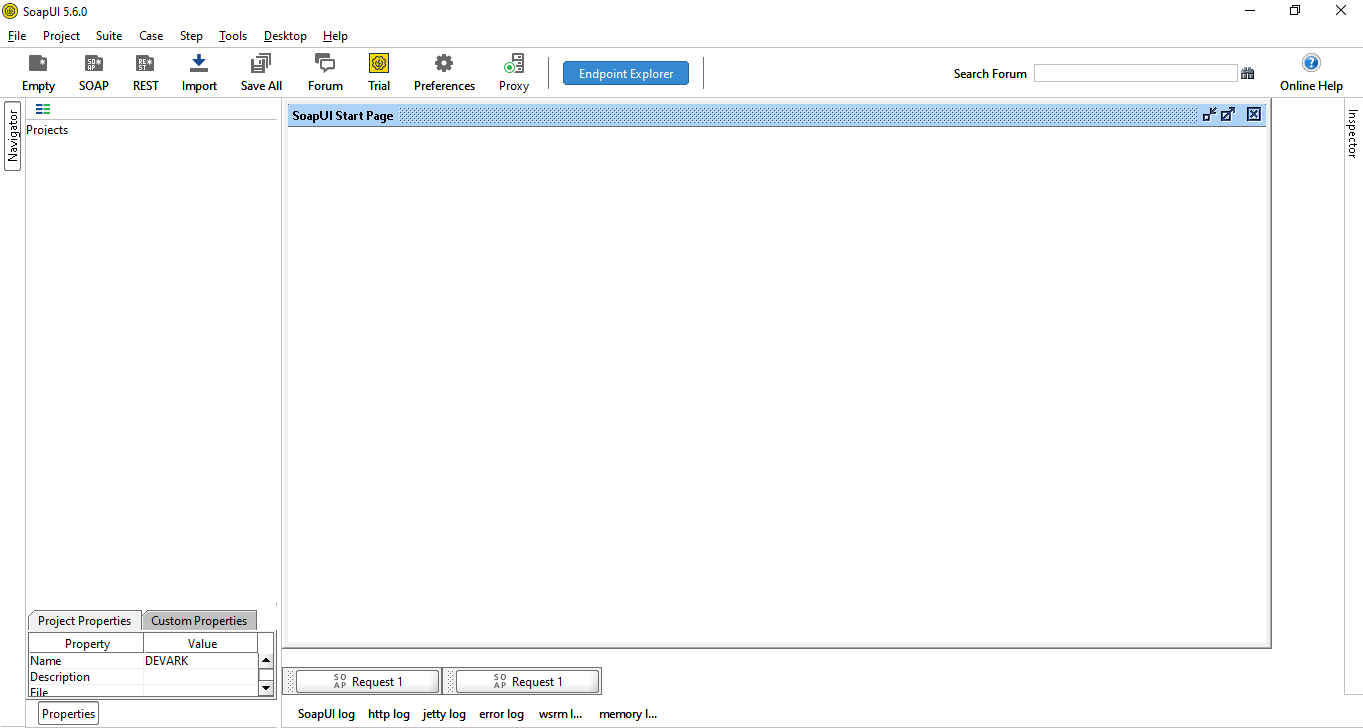
Once you have SoapUI downloaded, install this on your machine with the default/standard settings, and after installation when you open the application you will see similar to the below screenshot.
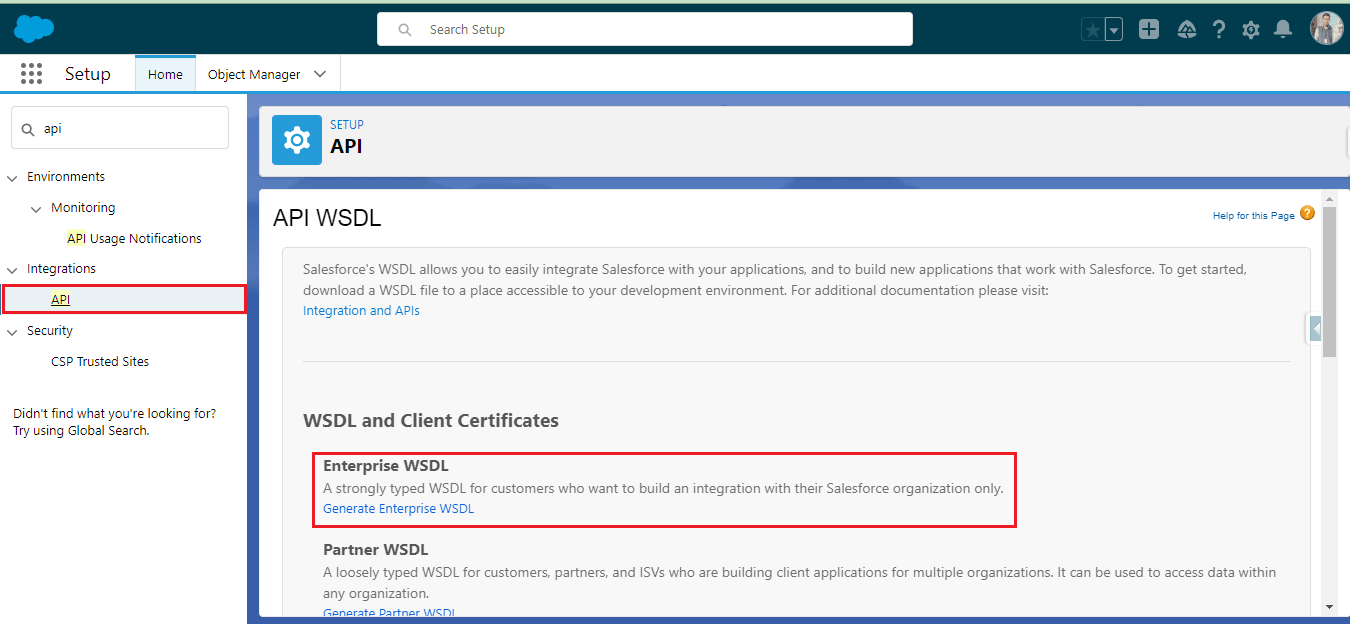
We will use the enterprise WSDL to connect Salesforce org and will perform the operations using SOAP API. So let’s generate the WSDL file for Salesforce org.
In your Salesforce org, from setup, enter ‘api’ in the quick find search box, then select API. On the API WSDL page click on Generate Enterprise WSDL link.
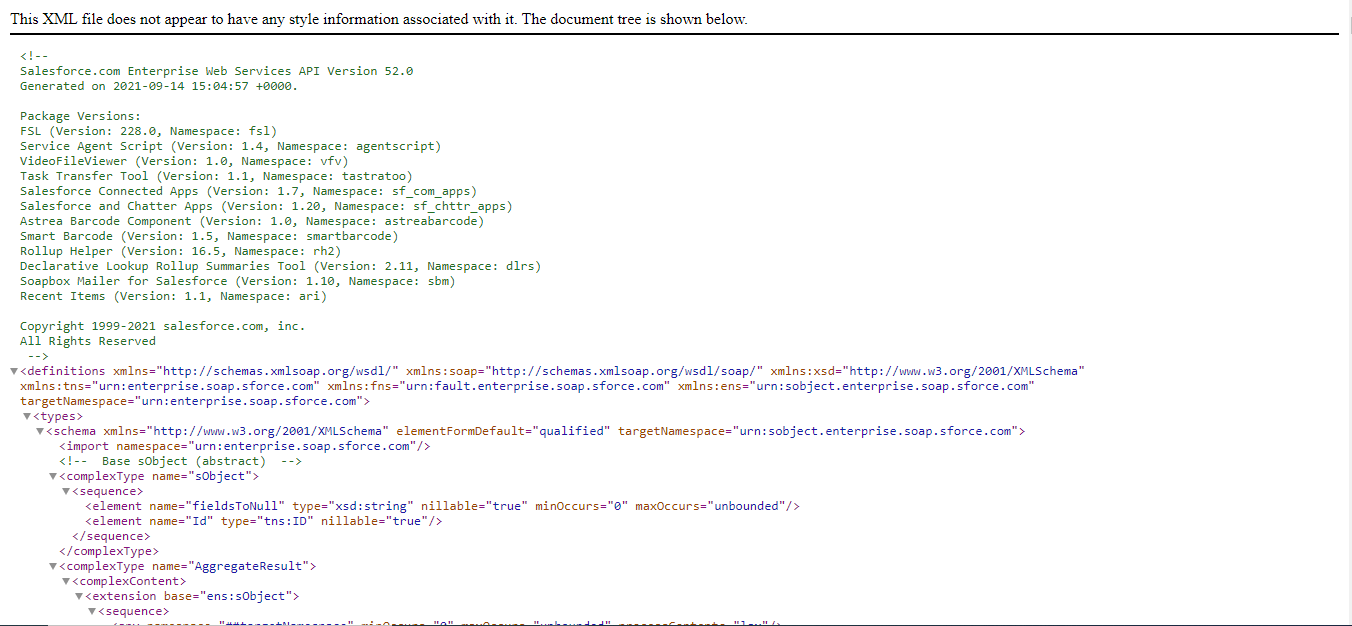
When the WSDL file is generated, right-click on the page and save this on your local machine. We will use this file later in the SoapUI application.
Now, open the SoapUI application.
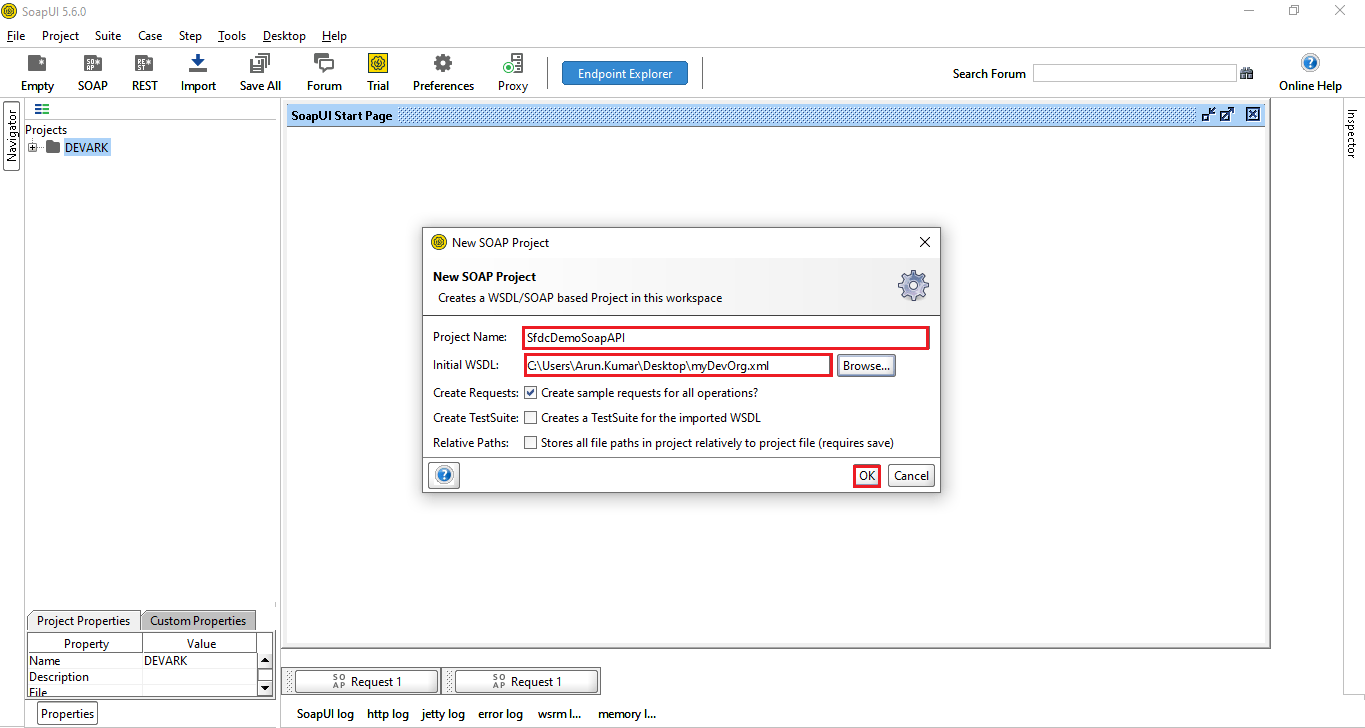
1. Go to the File menu and select ‘New SOAP Project’. Enter the project name of your choice and select the WSDL file from your local system. After that click on the OK button.
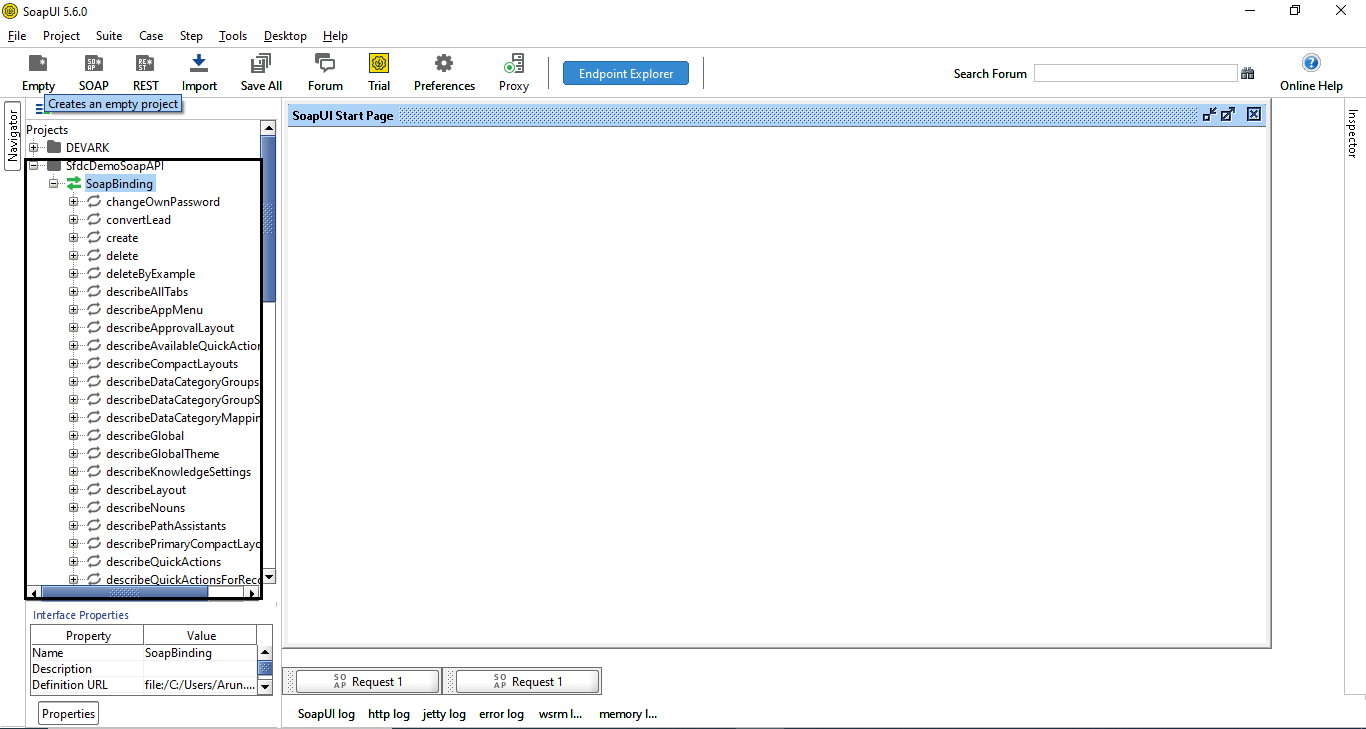
After the successful creation of the project, you will see the list of items showing in the left sidebar as shown on the screen below:
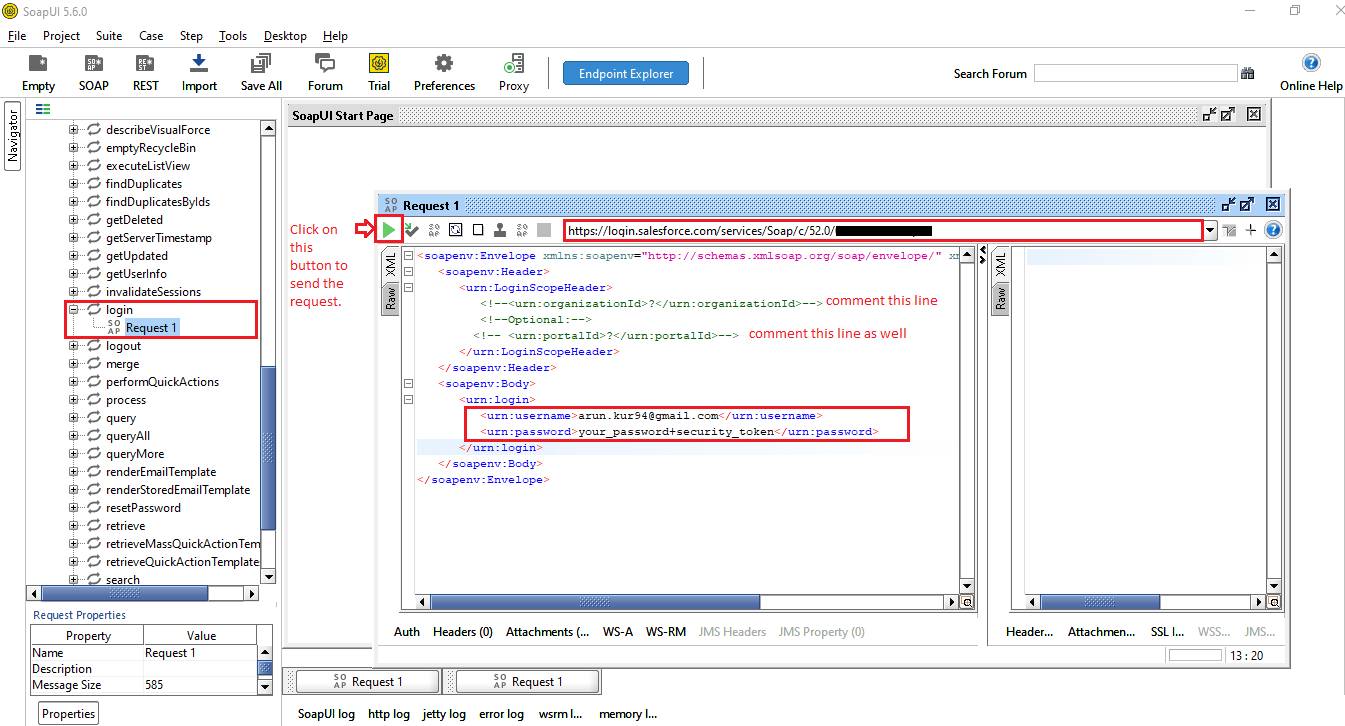
2. Log in to Salesforce org: we need to log in to Salesforce before making any request. You can see different operations are available in the left panel, search for login, and double click on the Request1.
You can see the XML request as shown on the screen below. You don’t need to fill organizationId and portalId in the request so you can comment on these two fields.
Remove the question mark (?) from the username and password tag and put your salesforce org username and password append with security_token.
Click on the run icon shown in the screenshot to submit the request.
You will see the response to your request in the right panel.
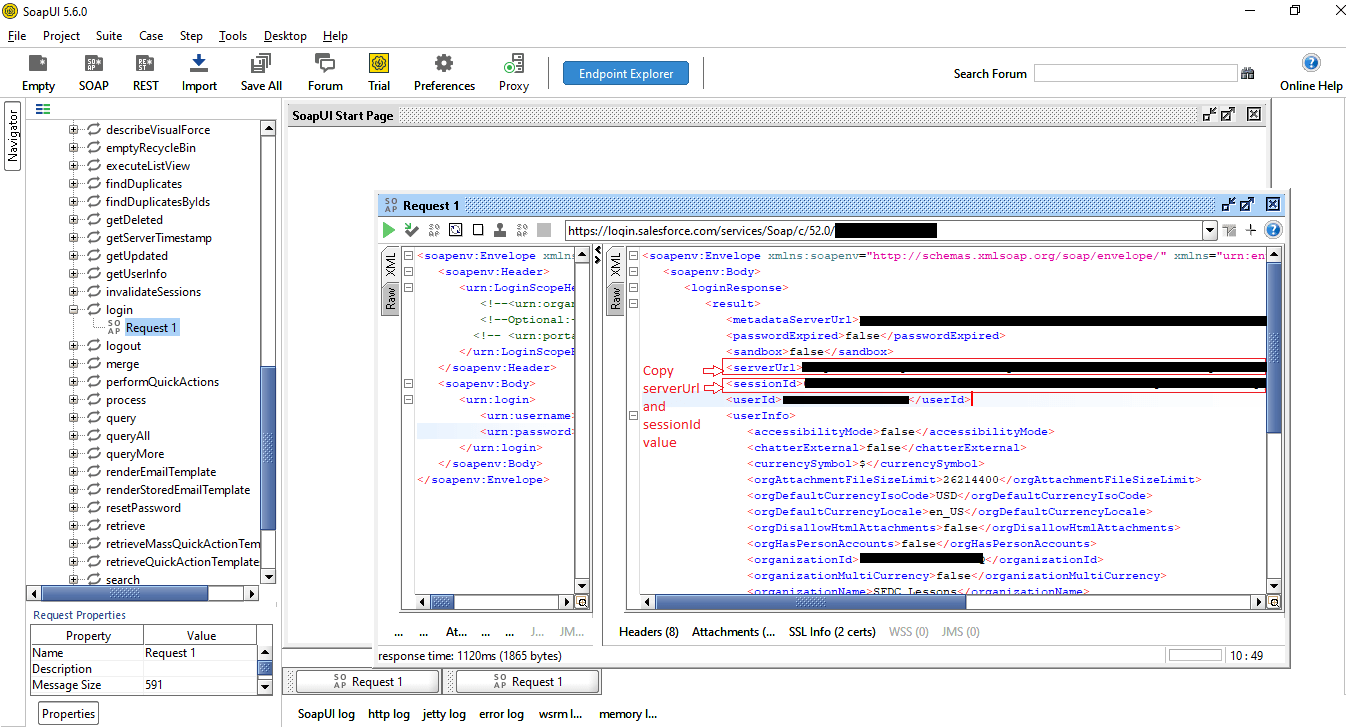
In the response that you received, you need to copy serverUrl and sessionId values and put them in your notepad, we will use this later to make the request.
3. Now let’s open the ‘create’ request from the left sidebar to create a new custom fresh(without any permissions enabled) Profile in the Salesforce org.
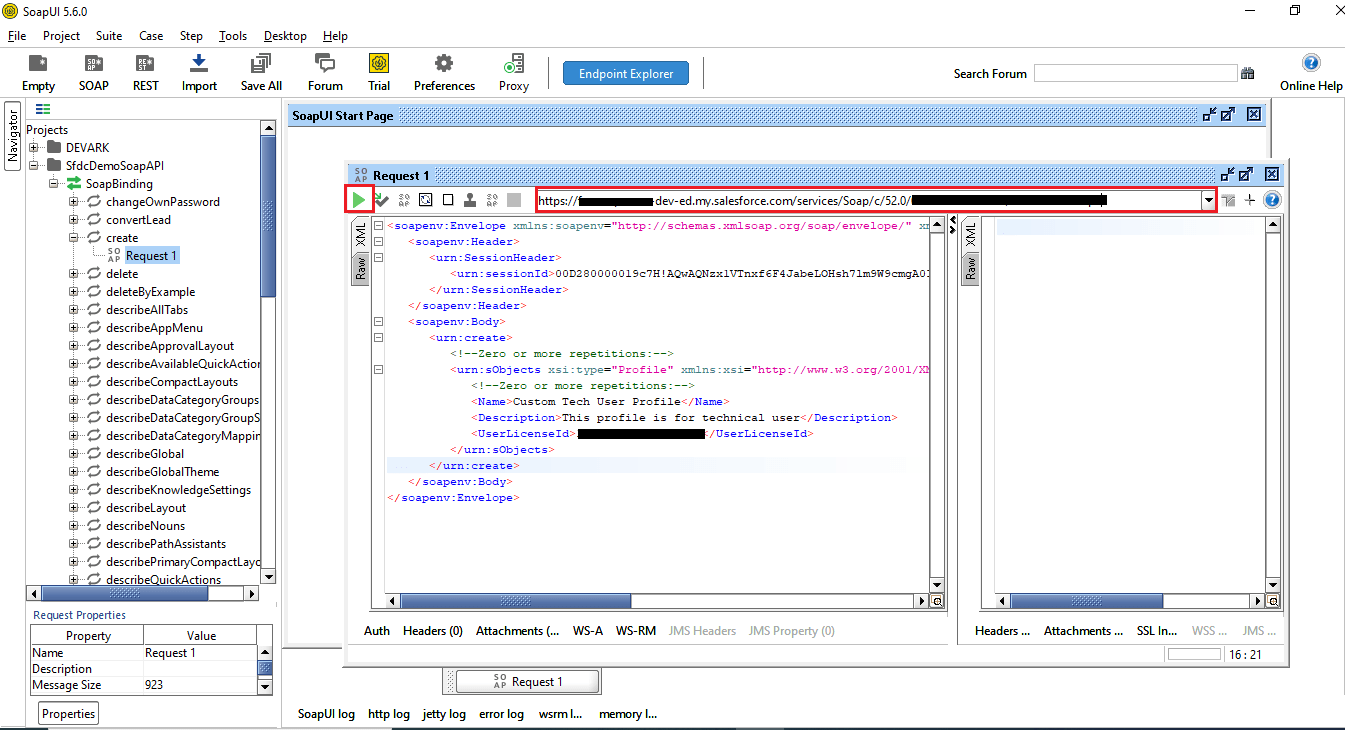
Make a request like below, you need to put sessionId that we stored in the previous step, Name of profile, Description, and UserLicenseId.
<soapenv:Envelope xmlns:soapenv="http://schemas.xmlsoap.org/soap/envelope/" xmlns:urn="urn:enterprise.soap.sforce.com" xmlns:urn1="urn:sobject.enterprise.soap.sforce.com">
   <soapenv:Header>
      <urn:SessionHeader>
         <urn:sessionId>put the sessionId here</urn:sessionId>
      </urn:SessionHeader>
   </soapenv:Header>
   <soapenv:Body>
      <urn:create>
         <!--Zero or more repetitions:-->
         <urn:sObjects xsi:type="Profile" xmlns:xsi="http://www.w3.org/2001/XMLSchema-instance">
            <!--Zero or more repetitions:-->
            <Name>Custom Tech User Profile</Name>
            <Description>This profile is for technical user</Description>
            <UserLicenseId>put the user license Id here</UserLicenseId>
         </urn:sObjects>
      </urn:create>
   </soapenv:Body>
</soapenv:Envelope>
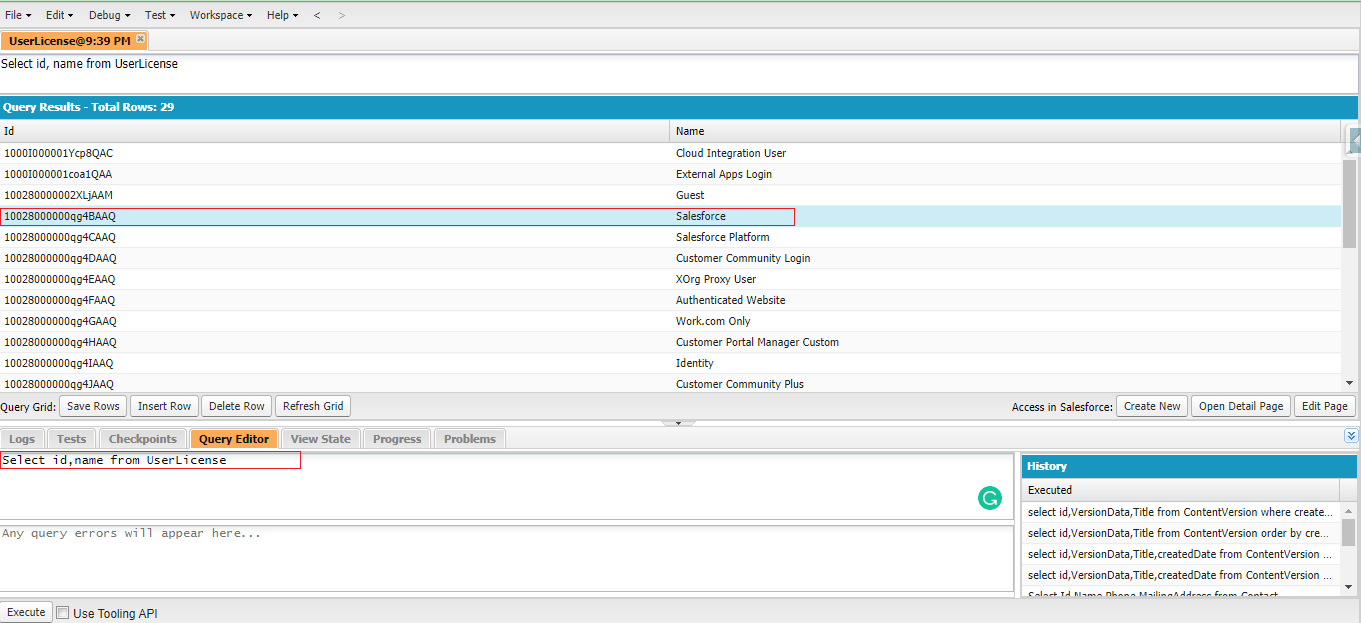
UserLicenseId you can query from your salesforce org like below.
Now click on the run/execute button to send the request and then you will receive the response like below:
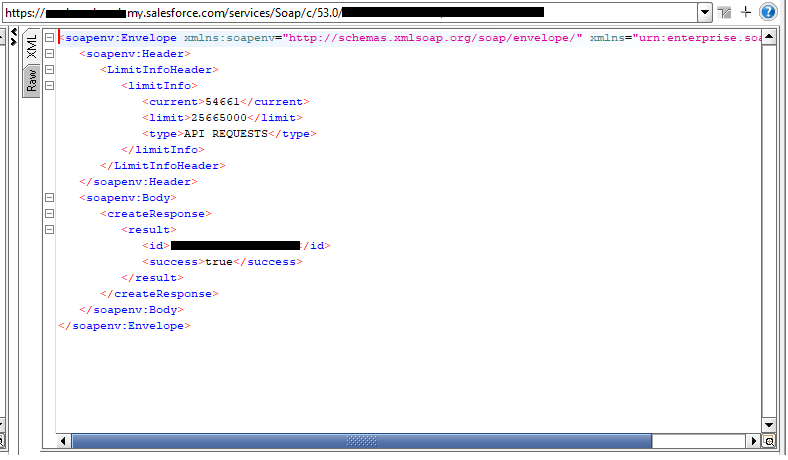
Congratulations! You have successfully created a custom profile from scratch using SOAP API. Now you can check the profile, it will be a blank profile without any permission enabled, go ahead and add the permission that you want to add.
Using soapUI you can perform many operations like retrieve, insert, update, upsert, delete records, etc.
Let’s see how we can retrieve the Account record using the soapUI tool. Go ahead and double-click on the ‘retrieve’ request. The server URL which we got from the login request is set in the address bar and the session id is set between the request XML urn:sessionId tag. Write SOQL query SELECT Id, Name FROM Account between <urn:queryString> tag.
Retrieve XML Request:
<soapenv:Envelope xmlns:soapenv="http://schemas.xmlsoap.org/soap/envelope/" xmlns:urn="urn:enterprise.soap.sforce.com">
   <soapenv:Header>
      <urn:SessionHeader>
         <urn:sessionId>put the sessionId here</urn:sessionId>
      </urn:SessionHeader>
   </soapenv:Header>
   <soapenv:Body>
     <urn:query>
		<urn:queryString>SELECT Id, Name FROM Account</urn:queryString>
     </urn:query>
   </soapenv:Body>
</soapenv:Envelope>
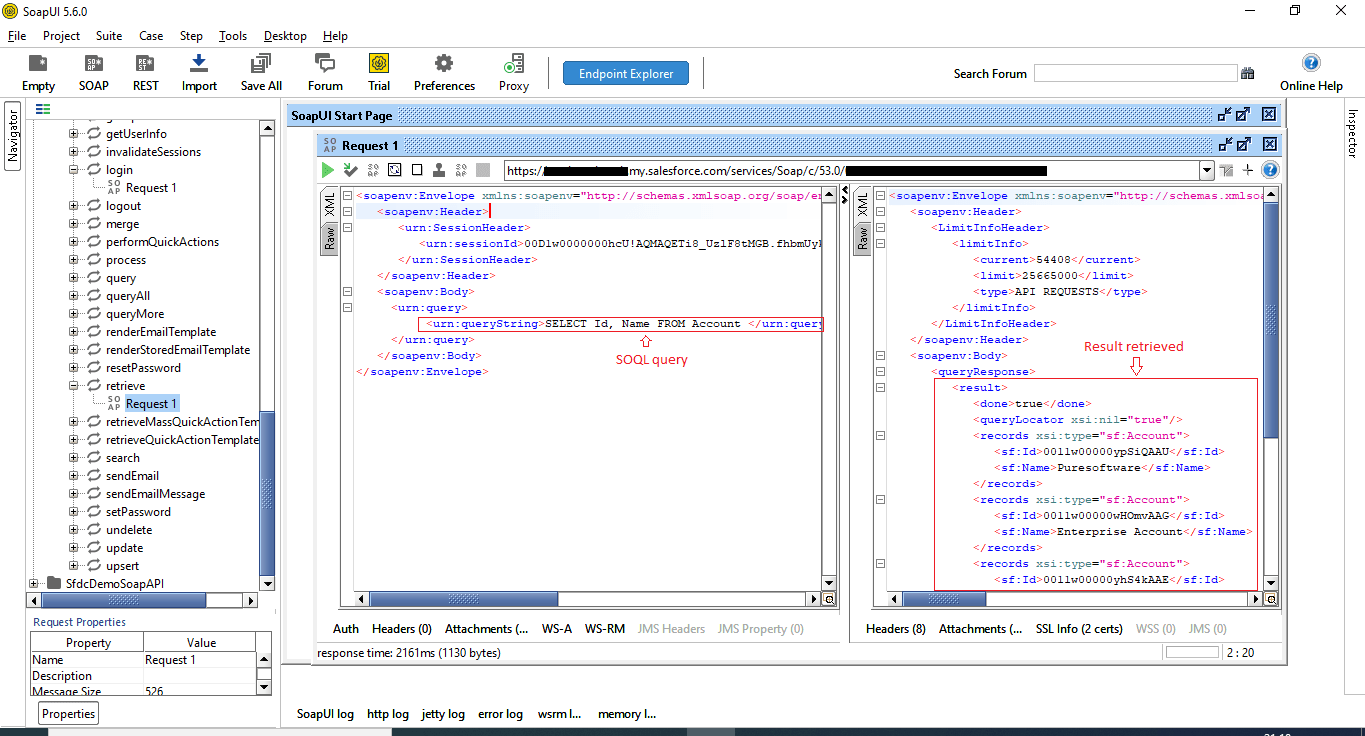
Click on the run/execute button and you will get the result in the right panel, you can see that in the above screenshot.
Resources
Salesforce winter 22 release note
